To get started, you'll need to gather your ingredients. The best thing about this is that you probably have all of this stuff in your kitchen right now!

You'll start like many other yeasted bread recipes, by heating milk in the microwave and melting butter in it. Let this cool off so that it's warm to the touch but not so hot that you can't stick your finger in it. Stir in the sugar and yeast and then let it sit for a few minutes.

Add the flour and salt in your mixer bowl with the dough hook attached. Stream in the wet mixture into the dry ingredients with the mixer running. Up the speed on the mixer until it becomes well-incorporated.

Knead it for 6-8 minutes. You could do this by hand, but the mixer makes things so much easier!

Take this out of the mixer bowl and make a smooth ball. Rub the inside of the mixer bowl with a little vegetable oil and return the dough to the bowl. Cover it with plastic wrap and let it rise in a warm spot for around an hour. If your kitchen is drafty like mine, you may want to turn the oven on to a low heat and let it sit on the stovetop. If it's really chilly, you can preheat the oven to 250, turn it off and then proof the bowl in there.
While the dough is rising, you can set up your work station. Melt butter in one bowl and mix the brown sugar and cinnamon in another. Also, butter a bundt or other circular pan. I only have an Angel Food pan, so I use that. After an hour, your dough will have risen and should look something like this--

Roll it out until you have a large rectangle. Now, you want to cut many small squares using a pastry cutter or serrated knife. You're going to cut small squares, like a grid shape. You can measure this exactly or (do what I did) and just eyeball and cut similar sized squares.


Once you have the squares, you're going to roll them into balls. Because the dough is soft, they don't roll like a meatball. You want to sort of pull the corners down until a ball forms, kind of like rolling a ball of pizza dough. It doesn't have to be perfect, but I recommend rolling them all first.

Once you have the balls done, it's Assembly Line Time. You'll dip each ball into the melted butter and then roll it in the sugar and drop it into the pan. Go around the pan until you have evenly filled it. It's not going to be all the way to the top, but don't worry about it yet. IF there's any extra butter or sugar, sprinkle it on the top.

Cover this with plastic wrap and here's where you're done for the night. Pop it in the fridge and relax!

In the morning, take the pan out of the oven and play it in a warm spot while the oven preheats to 350 degrees. You'll notice that the dough has risen a little.

I always place this on a cookie sheet before putting it into the oven. This makes it easier to get in a and out of the oven and prevents any sugar from spilling in your oven. Pop it into the oven for 30-45 minutes until it's golden brown and a little bubbly.
While it's baking, you can mix up the icing. Deb from Smitten Kitchen uses a cream cheese frosting which is delicious. However, I've also just mixed a simple vanilla glaze using 3/4 cups of powdered sugar, 2 tablespoons of melted butter, 1/2 teaspoon of vanilla and 1-2 tablespoons of milk. Whisk it all together until it's smooth.

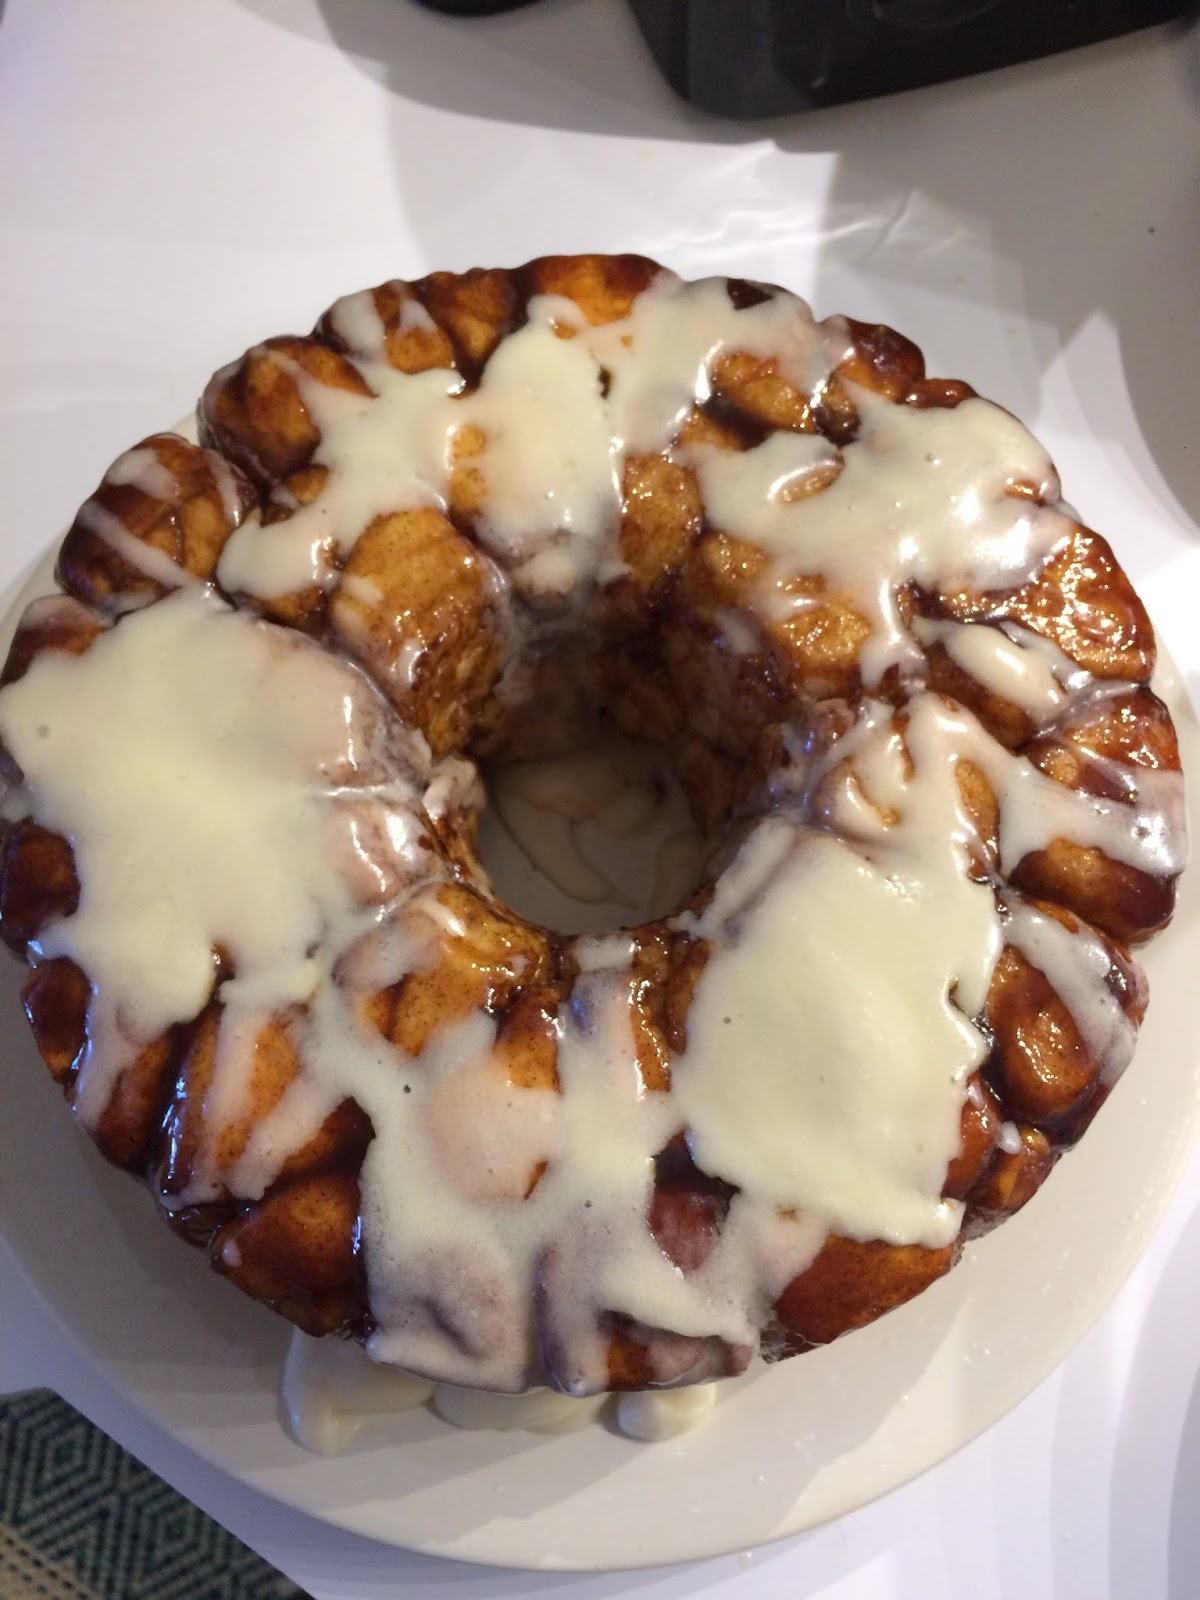
Once the bread is done, let it cool for 5-10 minutes. Then you'll invert it onto a large plate or platter. This is always my scariest moment, as I am always afraid I'll end up with a kitchen full of melty sugar! I usually make my husband do it! Once it's on the platter, you can drizzle on the glaze and then you're ready to serve!

Give this amazing recipe a try and let us know what you think in the comments! Happy Baking!
No comments:
Post a Comment